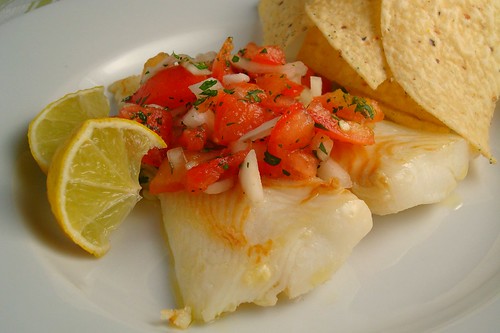
Aaand, we're back to the working week. Did you all have a good Easter and/or long weekend? Mine was nice and relaxing with tons of food and the arrival of my "nephew". Our southern themed Easter brunch was fantastic with amazing food and I may have indulged in one too many mint juleps (thanks JenFinn!). The one disappointment of the weekend was that my farmers market was closed yesterday. So annoying. No notice at all!! Anyway, I made this quick recipe for dinner last week so luckily I had something to share with you. Since I got two halibut steaks at the farmers (back when it was open), and I had some blood oranges laying around, this was super easy. I made the salsa the night before so the flavors had plenty of time to come together. It was so delicious and rich without being heavy. Once again, the quick cook of the halibut left me with a fish that was nicely cooked and buttery with a nice sear. I loved the tart and sweet blood orange salsa, which as you can see from the picture, I used liberally on my fish. It was a great combination. If you think you don't like fish, I really encourage you to try halibut because it is one of the least fishy fishes and has a nice flavor and texture. Dishes like these are an excellent and easy preparation that you can make any day of the week.
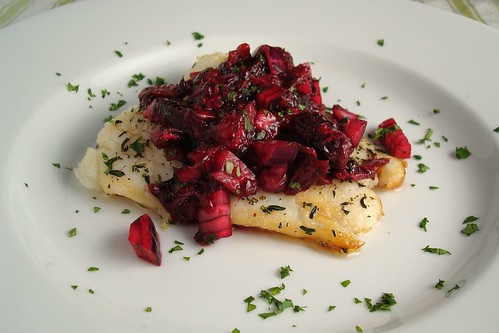
Sear-Roasted Halibut with Blood Orange Salsa
(Adapted from Fine Cooking)
For the salsa:
3 small blood oranges, cut into segments, with half of the segments juiced
1 tablespoon minced red onion
1 1/2 teaspoons chopped fresh cilantro
Kosher salt and freshly ground black pepper
For the halibut
1/2 teaspoon chopped fresh thyme
Kosher salt and freshly ground black pepper
1 skinless halibut fillets
Olive oil
Position a rack in the center of the oven and heat the oven to 425°F.
Make the salsa:
In a small saucepan, boil the orange juice over medium heat until reduced to 1 tablespoon, let cook
In a medium bowl, combine the reduced orange juice, remaining orange segments, onion, and cilantro. Season to taste with salt and pepper.
Cook the halibut:
In a small bowl, mix the thyme, 1/2 tsp. salt and a pinch of pepper. Rub the mixture all over the halibut. Heat some oil in a 12-inch ovenproof skillet over medium-high heat. When the oil is shimmering hot, arrange the fillet in the pan. Sear for about 2 minutes without moving; then use a thin slotted metal spatula to lift a piece of fish and check the color. When the fillets are nicely browned, flip them and put the pan in the oven.
Roast until the halibut is just cooked through, 1 to 2 minutes. Remove the pan from the oven and transfer the halibut to a serving plate. Spoon some of the salsa over the halibut.